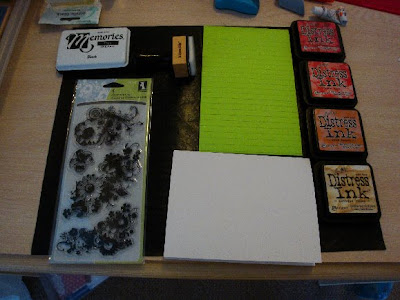
Tools needed:
• Distress Inks in co-coordinating colours (I used Antique Linen, Wild Honey, Barn Door and Fired Brick)
• Tim Holtz Distressing Tool with foam pad (though cut and dry works just as well.
• Plain, smooth, white card
• Post-Its or Sticky notes – I used C5 size simply because that was the most cost effective option here!
• A suitable silhouette stamp
• Black Ink (like memento or Versafine)
Once you have chosen your stamp you can then use your post its to mask off an area on your card, in a shape you like and very slightly smaller (or narrower) than your chosen stamp, depending on which way you wish to stamp your image. I chose a non symmetrical rectangle for my morphic flower stamp. I tried masking and colouring before choosing my stamp but choosing the stamp first works best as you can then mask to suit.
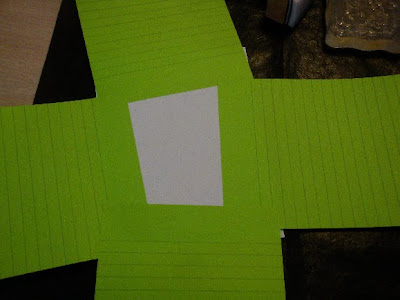
Taking your distressing tool (with pad attached) or your cut and dry and starting with the lightest colour, using smooth circular movements cover the masked area with a light shading of the colour, in my case it was the Antique Linen.
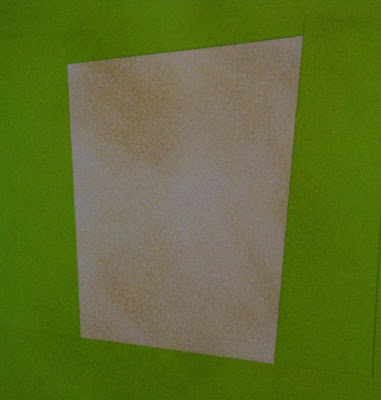
Then taking a different pad (you CAN use the same pad as I did, if you don’t have many) apply the next colour (Wild Honey) to a slightly smaller area, I applied mine all round the edges, but you could apply to just the top/bottom/one side/two sides – to suit you really.

Next colour/s were (Barn Door and Fired Brick) which I applied to the corners only but variations could be opposing corners or working in from the sides – again, your choice.
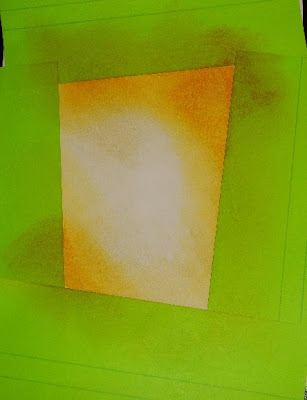
Once you are happy with the colour then remove the post-its to reveal your fab panel. Ink up your silhouette stamp and position to suit you, usually most effective if some of the stamp appears outside of your coloured panel. As you can see from my finished card photo I also added an occasion sentiment to mine.
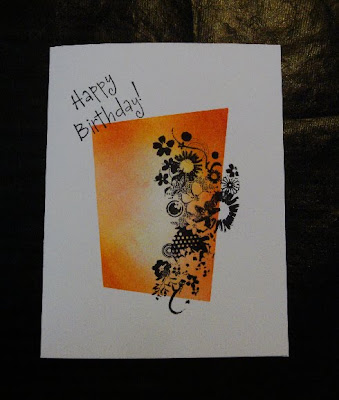
It really is THAT SIMPLE!!!, but isn’t it great? I love the combination of Mustard Seed, Spiced Marmalade and Fired Brick but Spun Sugar, Victorian Velvet and Fired Brick is great too – give it a whirl and you too might find yourself hook – I’m pretty sure Wynneth fell for the technique too whilst here in sunny Florida!!! Another variation I tried was (after ensuring that the distress inks are completely DRY) over stamping with a glue pad and then sprinkling crystal glitter to makeyour project really twinkly – another fab possibility you really MUST try. The stamp IS important and strong silhouettes work just great with this technique so break out the one’s you’ve been looking at and wondering what to do with! ENJOY.


